Wednesday, 7 October 2009

Mosaic Filter


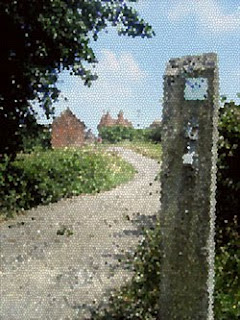
This filter was the mosaic filter which I chose when looking in the filter gallery. I applied it to the whole photo, with the cell size set to 13, the border thickness to 2 and the light intensity to 2. This type of filter breaks up the original lines that were in the picture and makes it more abstract.
Halftone Filter


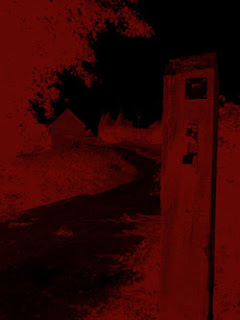
This filter is the halftone filter which I chose from the filter gallery. I set the contrast to 20 and the size of the squares to 1, so that the picture still kept some detail. I had the foreground colour as a deep red and the background colour black, this has created a very horror type feel to the photo.

Glowing Edges Filter


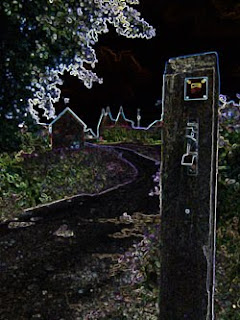
This is the glowing edges filter which I found in the filter gallery on photoshop. I set the edge width to 10, the edge brightness to 4 and the smoothness of the lines to 15. This created this effect where the main parts are outlined and the rest is darkened. I like how this has created a very abstract look to the original photo.

Emboss Filter


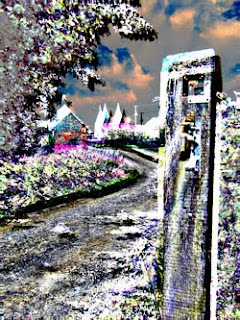
This is the emboss filter that can be found on the filter menu in photoshop. I set the angle to 131 degees, the height of the embossing to 100 pixels and the amount of embossing to 500%. This creates a very, very abstract image of the original that looks totally different. It has created two layers coming off one another and very abstract colours in the sky and on objects for example.

Cutout Filter


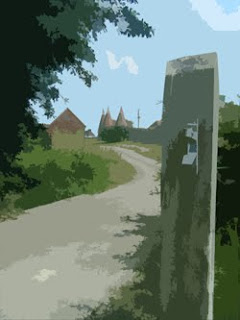
This is the cutout filter, which makes the photo simplify into basic shapes and the levels of detail can be altered. I set the number of levels to 8, the edge simplicity to 10 and edge fidelity to 3. These settings created an image that has less detail than the original but enough so that you still know what it is. I like the way that the bushes have two layers of cutout not making them completely flat.

Using Colour Brushes

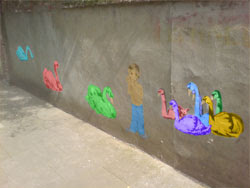
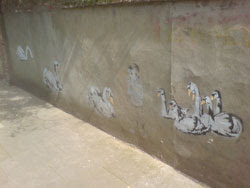
I took this photo in St Ives, while on my holiday. I saw this Banksy style graffiti on a wall. In this photos I have used the paint brush tool, to change the colours of the swans on the wall. I coloured in all the different parts of the graffiti in different colours to make the image look different to the original one. The best bit I think is the group of swans on the right because of the different colours all put together.

Warming Up Images

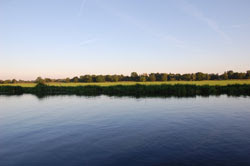
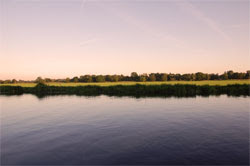
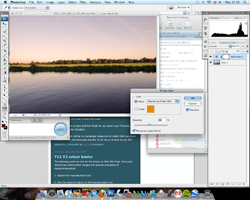
In this photo i used the photo filter, and selected the warming filter (85) and set it 46 on the slider. This created the effect on the right, it has made the whole picture more orange and creates a more sunset like feel to the image that the original. I like the way it has reflected the redness of the sky into the water below, this change of colour changes the mood in my opinion.
Below is a screen-shot of how i changed the warming density etc.