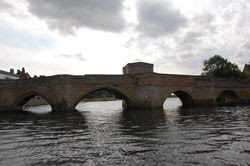
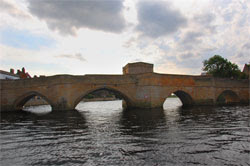
 There are 3 variables that can change the colour of a photograph, they are hue, saturation and lightness.
On these photos I changed the hue and saturation to bring out the colours on the bridge and in the sky.
- Firstly I unlocked the background layer so it could be altered.
- Then I copied the layer so that when I adjusted the hue and saturation it wouldn't be too bold and it will blend the colour of the two layers, while changing colour.
- Then selected the sky area using the magnetic lasso tool, with a 100pt feather effect so there were no rough edges, and then adjusted the
 saturation from 0 to 42 on the slider. I thought this was enough so that it didn't become overly saturated.
- The next thing I did was, once again, select the bridge using the magnetic lasso tool, and adjusted the saturation from 0 to 47, and this time I adjusted the hue a little, from 0 to 7. This has made the bridge brighter and I shows the colours of it much better, in my opinion.

No comments:
Post a Comment